Dashboards with PyViz Panel for interactive web apps
Dashboards
Traditionally data views are static, like those in scientific papers. You make a plot and it becomes a figure inside a pdf. However lots of scientific work would benefit from having interactive plots that readers can explore. Building interactive apps that can manipulate and analyse data has always been the preserve of specialist programmers. Scientists should not have to be experts in javascript or web frameworks to be able to do this. However, web technology has matured enough that it is now possible to create your such apps with relatively little effort. This does assume some programming knowledge, in this case Python.
Dashboards are interactive graphical views of your data, usually in the form of plots and widget elements. They are deployed as web applications so can be run inside any browser. They can also be used as apps that provide a utility for specific tasks like sequence alignment for example.
Dashboard tools
There are now several plotting packages in Python that support creating dashboards. In fact there is a confusing array for newcomers such as dash and R shiny. Here I will focus on one particular library called Panel. This is a Python package and part of the pyviz set of tools. It has some advantages over other tools as it supports multiple plotting libraries and can be deployed as a standalone server (you don’t need jupyter to run it). If you know some Python it is quite easy to learn.
Requirements
Panel works inside Jupyter (formerly IPython notebooks). If you are not familiar with that you can check the links below. Basically you design or prototype your app in jupyter and test there. Then you can share the noteboook or run as a server. You can install all of the packages used here using the pip tool. To install all requirements:
pip install jupyter biopython panel bokeh
Viewing data
Once you have started a new jupyter notebook you can import the required panel packages as follows:
import panel as pn
pn.extension()
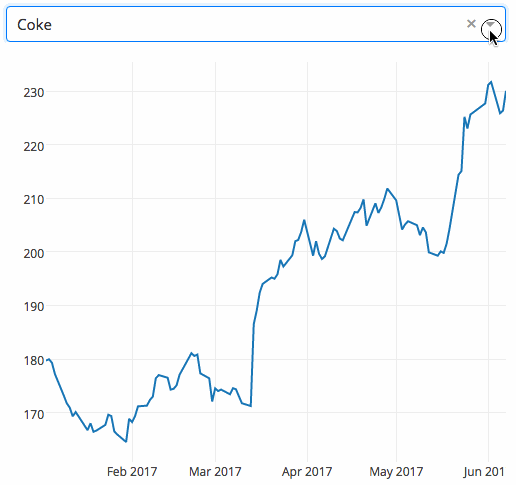
This example is from the documentation and shows how to create an interactive plot very easily. The function mplplot uses matplotlib to create a line plot from a pandas dataframe and returns a figure. The sine function provides the data. pn.interact is shorthand that says “every time the widgets are used, update the plot function”. You can see that there is no actual code to create widgets, they are generated via the interact depending on the parameters of the sine function. This makes it very quick though has limits for more advanced functionality.
import matplotlib
matplotlib.use('agg')
import matplotlib.pyplot as plt

def mplplot(df, **kwargs):
    fig = df.plot().get_figure()
    plt.close(fig)
    return fig

def sine(frequency=1.0, amplitude=1.0, n=200, view_fn=mplplot):
    #return the sine given inputs
    xs = np.arange(n)/n*20.0
    ys = amplitude*np.sin(frequency*xs)
    df = pd.DataFrame(dict(y=ys), index=xs)
    return view_fn(df, frequency=frequency, amplitude=amplitude, n=n)

pn.interact(sine)
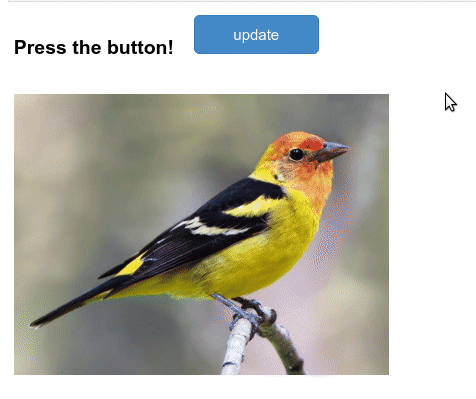
A random images app
This example just creates some random bird images when you press a button. It serves to show how to make widgets directly and attach actions to them. It’s more explicit than the previous example. Here we create the button, write a function to return a new image and then attach that to the button click. The param.watch call is the key part. It allows you to update a widget when another one is changed which can be used for all sorts of things. Note that the last line is what displays the app in the notebook.
import random
update_btn = pn.widgets.Button(name='update',width=100,button_type='primary')
s = pn.pane.HTML('<h3>Press the button!</h3>')

def get_image():
    #get a random image
    n = random.choice((67364561,67447491,67449081,59858041,94974311,65614911))
    img = 'https://www.allaboutbirds.org/guide/assets/photo/{n}-1280px.jpg'.format(n=n)
    return img

#setup the jpg pane
jpg_panel = pn.pane.JPG(get_image(), width=300)
def update(event):
    jpg_panel.object = get_image()

#watch associates a button click with the update function
update_btn.param.watch(update, 'clicks')
#add the widgets to panes
top = pn.Row(s,update_btn)
app = pn.Column(top,jpg_panel)
app
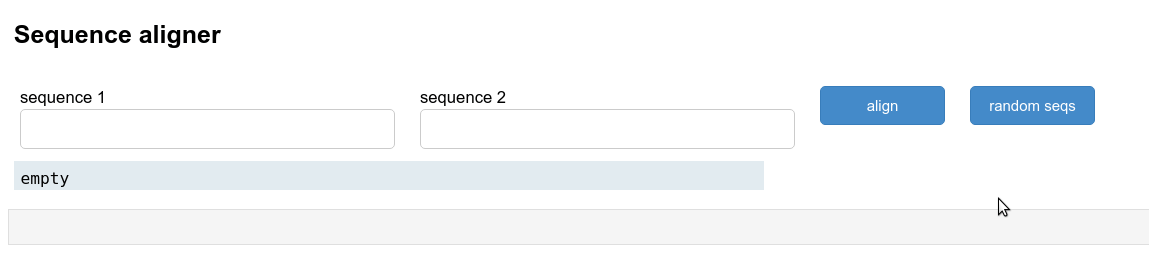
Sequence alignment tool
The last example uses a trivial sequence alignment to show how you could create your own bioinformatic utility. It uses Biopython to do a pairwise alignment of two random sequences. The result is returned as formatted string and inserted into the result pane. Note how this is done by setting the result.object attribute. This could be adapted as a teaching tool for more realistic examples.
def make_seq():
    #make a random nucelotide sequence
    length =random.choice(range(20,30))
    return ''.join([random.choice(['A','C','T','G']) for i in range(length)])

from Bio import pairwise2
title = pn.pane.Markdown('## Sequence aligner')
result = pn.pane.Str("empty",style={'margin': '4pt'},width=600,background='#E3ECF1')
aln_btn = pn.widgets.Button(name='align',width=100,button_type='primary')
randomseq_btn = pn.widgets.Button(name='random seqs',width=100,button_type='primary')
seq1 = pn.widgets.TextInput(name='sequence 1')
seq2 = pn.widgets.TextInput(name='sequence 2')

def create_sequences(event):
    seq1.value = make_seq()
    seq2.value = make_seq()
    return

def align(event):
    #this function does the alignment using the textinput values
    alignments = pairwise2.align.globalxx(seq1.value, seq2.value)
    #the result widget is then updated
    result.object = pairwise2.format_alignment(*alignments[0])
    return

aln_btn.param.watch(align, 'clicks')
randomseq_btn.param.watch(create_sequences, 'clicks')

top = pn.Row(seq1,seq2,aln_btn,randomseq_btn)
app2 = pn.Column(title,top,result)
app2
Deploy apps
If you want to share your app you can save the notebook and give it to someone else. They can then run the app using panel at the command line by running: panel serve notebook.ipynb. One other thing you need to do is put app.servable(); in a notebook cell.
Notes
JupyterLab is the newer notebook tool that some people may prefer to use. If using JupyterLab the pyviz labextension has to be installed with: jupyter labextension install @pyviz/jupyterlab_pyviz