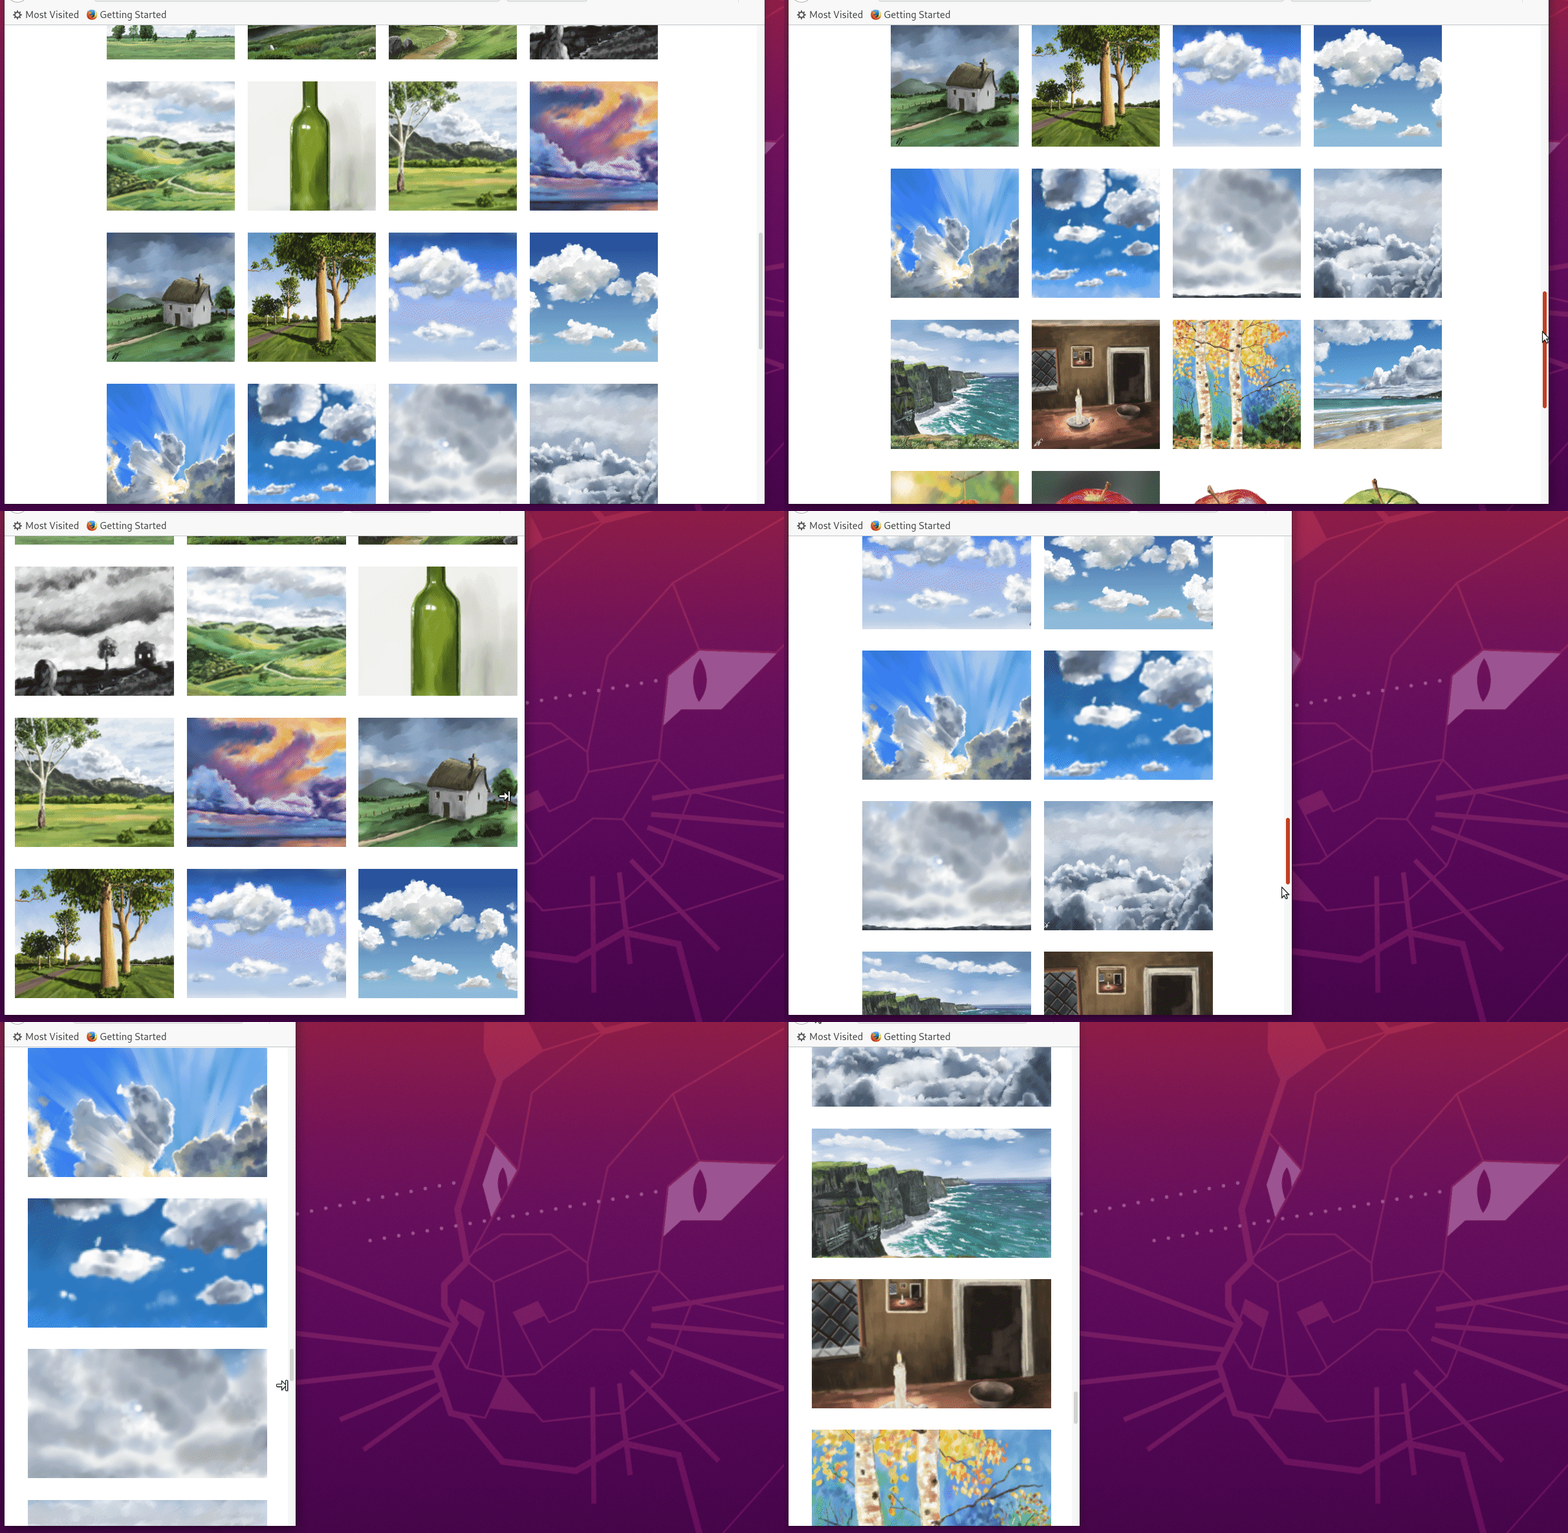
A simple image gallery in Jekyll without plugins
Background
Jekyll is a static web site generator written in Ruby. It allows you to build web sites dynamically with a combination of things like markdown, templates and normal html. Liquid is a templating language, used by Jekyll to programmatically generate html using predefined web elements called templates that you can make yourself. Generally in Liquid you output content using two curly braces e.g. {{ variable }}. This can be used alone and combined with regular html to construct a page. In combination with css this creates a very flexible tool for making all sorts of web page layouts. This site is made with Jekyll and hosted freely on GitHub Pages. Before reading this you should have some knowledge of using Jekyll.
Galleries
Jekyll supports image galleries usually through plugins. This example uses no plugins so should work on github pages which has limited plugin support. It works by just creating views (in the _includes folder of the jekyll site) and then re-using them inside any page.
Set variables in _config.yml
We can first set variables in the config file that can be accessed from within the template. These variables hold the name of our image folders and thumbnail folders. It requires that the iamge file names in both folders match.
imagesurl: "/mysite/img/"
thumbsurl: "/mysite/thumbs/"
You can make thumbnails of a lot of images using imagemajick: mogrify -path thumbs -resize 20% images/*
CSS
This css formats the div elements that make the gallery. It can be included inline in the view or in the assets/css/style.css folder.
The ‘.img-gallery’ style is to keep the images the same square shape as they appear in the div block.
   /*! div style */
  .image-gallery {
    width: 100%;
    display: grid;
    grid-template-columns: repeat(auto-fill,minmax(200px, 1fr));
    justify-content: center;
    padding: 4px;
  }

  .box {
      flex-basis: 25%;
      width: 100%;
      padding: 10px;
      margin: 2px;
  }

  .img-gallery {
	width: 100%;
  height: 200px;
	object-fit: cover;
  transform: scale(1);
  transition: all 0.3s ease-in-out;
  &:hover {
    transform: scale(1.05);
  }
HTML view
Templates that are called ‘partial views’ are usually placed in the _includes folder. include.folder is the variable name passed to the include statement when we embed this view. This code iterates over the site files and if they are in the target folder and are png files, they are displayed. Each image is a div element inside a larger div. Note that the image shown is a thumbnail linked to the real image. It assumes the thumb filename matches the real one. We save this as _includes\my-gallery.html or whatever you wish.
<div class ="image-gallery">
  {% assign sorted = site.static_files | sort: 'date' | reverse %}
  {% for file in sorted %}
  {% if file.path contains include.folder %}
  {% if file.extname == '.png' %}
    {% assign filenameparts = file.path | split: "/" %}
      {% assign filename = filenameparts | last | replace: file.extname,"" %}
       <div class="box"><a href="{{ file.path | relative_url }}" title="{{ filename }}">
         <img src="{{ site.thumbsurl }}{{file.name }} " alt="{{ filename }}"  class="img-gallery" />
       </a></div>
      {% endif %}
    {% endif %}
  {% endfor %}
 </div>
We then insert this view into any page using:
{% include my-gallery.html folder="myfolder" %}
Alternative HTML
Another method would be to take only specific files you want included from an image folder. This one uses the imagesurl variable we set above. Otherwise it will give the same format as above.
{% assign filenames = "img1.png,img2.png,img3.png" | split: "," %}
<div class ="image-gallery">
{% for name in filenames %}
    <div class="box">
    <a href="{{ site.imagesurl }}{{ name }}">
      <img src="{{ site.thumbsurl }}{{ name }} " alt="{{ name }}"  class="img-gallery" />
     </a>
    </div>
 {% endfor %}
</div>
The result will look like this:
There are many ways to achieve the same goal in Jekyll. This method is simple but doesn’t provide some other features like pagination.
